Pages

Monday, May 27, 2013

Puff Ball Wreath

Here's another one of my vintage projects....

Many years ago (sounds like a novel!), like about 40 years (yikes!), I made my mother a puff ball wreath using up scraps of fabric from my sewing projects.  Back then, as I was learning to sew I mainly made garments.  As I was in 4-H, we started with an apron made from gingham (mine was orange and white), then moved on to dress construction.  My first dress was sleeveless with back and front darts, facings, and a back zipper.  Then we moved on to adding sleeves the next year.  Anyhow, I found I loved to sew and made a lot of my clothes through junior high and high school.

I made the wreath, as I said, for Mom.  Since it is made using a styrofoam  wreath as a base, over time it degraded until one day it just fell off the wall and broke.  Mom told me she cried and tried to fix it, but the base had dried out too much.  She did save all of the puff balls from it and gave them to me.  I found them the other day and with the help of my daughter put it back together again.

This project was made when I was about 12 to 14 years old, judging by the fabric in it.  It was strange sitting with Amanda working on this and telling her what I had made from each piece of fabric, as I could remember.  I told her that as I made the wreath when I was a kid I never would have thought that one day I would be sitting with my daughter working on it.

These are the puff balls.  I probably had about 300-400 of them.  I made them by cutting a circle of fabric, about 3 inches in diameter, stuffing a cotton ball in the middle and gathering up the edges with my fingers.  Next I wrapped a piece of wire around the gathers to hold it close.  The wire is then stuck into the foam.  I used a 10 inch stryofoam wreath as the base.


You can see some of the glue and foam from the original wreath in the picture!

Dabbing a bit of plain old white glue on the wire, you just start sticking puff balls into the foam, getting them as close as possible to hide the gathered end.


Love those vintage fabrics!  You can see some of the same fabrics in the yo-yos that I made here.


This is the completed wreath.  Every time I look at it I recall some project or another that I made as a kid.  This would be a great summer project for your young teen, letting them make a memory wreath and using up all of those fabric scraps!


Happy Crafting!
Kathy
Vintage-style Yo-yo Brooch

I bought a yo-yo maker made by Clover a few months ago.  After going through my VAST fabric stash, I found fabric pieces dating back to my first dress in the 70's that were too small to use for quilting but were perfect for yo-yos. 

I had never made yo-yo-s before, mainly because I didn't feel like cutting out all of those circles and trying to make them all the same size.  This yo-yo maker is great for that.  (BTW, these are my personal opinions, just as a consumer.)  This one is for the large-size yo-yos.  They are about 1 1/2 inches in diameter when complete.


You just pop your fabric in and trim away the edges.  As you can see in the photo above, there are slots for stitching.  Couldn't get any easier than that! 

Here is a selection of some of the 200+ that I have made.


After stitching so many, I wanted to make something out of them.  I have had a light blue cardigan sweater for years but never wore it because it always needed something else.  I decided that a yo-yo brooch would add the vintage look that I wanted. 

The fabric in this brooch is leftover from projects that I made when my children were small.  The blue and white striped fabric with the pink hearts is from Amanda's crib set (comforter and crib skirt) and the blue and white striped seersucker is from a pair of summer overalls I made for Blaise.  The other blue fabric, with musical notes on it, was from something I made for one of my sisters, as they are both musicians.  Can't remember what the project was though!

I stitched the yo-yos to a piece of white felt and added the center pearls.  Next I stitched a piece of leftover lace to the edge to complete the look.


This is the back.  Since this is for me, I didn't add another backing to hide my stitches.


I pinned it to the cardigan with a safety pin so I can remove it to wash the sweater.    I've had a number of compliments the few times I have worn it.


Now, what to do with all of those other yo-yos???

Happy Crafting!
Kathy

Memorial Day

I have many memories about Memorial Day.  My grandfather was a WWI veteran and I can remember him proudly marching in our city's Memorial Day parade.  When he could know longer walk the route, I recall him riding in a convertible down Main Street.  I eventually marched that same route in our high school's marching band.  We would stop at a small cemetery near the end of the route where a lone trumpet player would play Taps.  I had forgotten until typing this how much that touched me. 

Pray for our military men and women as they continue to fight for our freedom.

Thursday, May 9, 2013

Sewing Kit

My daughter was asked by a friend in college if she had a sewing kit he could borrow.  I'm embarrassed to say that she didn't have one.  Me, sending my kid off to school without a needle and thread.  So I decided to make both of them a sewing kit.  I know that I probably could have purchased one relatively inexpensively, but what fun would that be??!!

I started with a couple of Altoids tins I had saved, naturally.  I spray painted them with gloss black.  I wasn't too careful about getting it on the inside of the tin because I was going to line it with felt.  I cut felt to fit the inside top and bottom of the tins.


Next I cut a couple of small rectangles from felt to make a needle and pin "book".  I stitched the spine of this together by hand and added several sizes of needles, straight pins, and safety pins.

 
I filled some small zip lock bags with a variety of buttons.  My daughter's button bag, pictured above had a wide range of colors, while the one I filled for her friend had neutral colors.  Next I cut a small rectangle of cardboard and wrapped five different colors of thread around it - light beige, dark beige, white, black, and navy blue.  


Everything fit nicely inside the tin...but I don't have a picture to show that.

I wanted to make the outside of the tin a bit more interesting than just glossy black, so I added wording using a gold marker.


Since I had everything on hand, these little sewing kits didn't cost me anything.  And both my daughter and her friend appreciated them and have already put them to use!

Happy Crafting!

Kathy


Friday, May 3, 2013

Chess, anyone?

I have a (just turned) 16-year old son and, as all of you crafty moms know, it is very difficult to make something for a teenage boy.  He has more than his share of fleece blankets and pillowcases made out of cool fabric and I wanted to make him something more unique.  He has many interests including ham radio, chess, playing the drums, listening and playing jazz and prog rock, but how was I going to take one of these interests and make something just for him?

As I was wandering (and wondering) through a thrift store one day, I came across a low table that was very cheap, as in less than 5 bucks cheap.  It needed refinishing and a new home so I bought it.  After staring at it for a while I came up with the idea to make my son a chess table.


First I painted the table a glossy black.  Looking back, I wish that I had refinished it by staining it, but oh well.  As you can see from the photos, the table top has "ledges" on it so I thought this would be perfect for enclosing the chess board on two sides.  This is where the fun began.


I measured inside the ledges and decided to use small tiles that come in a sheet at Lowe's.  I wanted black and white but, believe it or not, could not buy black without custom ordering them!  My son decided on the off-white tile and we chose to paint the black squares a dark green.  I just used acrylic paint for this.  Next I outlined all 64 of the squares with gold paint.  My measurements indicated that the 8x8 chess board would fit perfectly withing the ledges of the table.  HAHA!  Those little tiles are not all of the same size and I had no room to play.  After grinding the sides of the tiles and realizing how ludicrous that was, I ended up gouging out the wood at the base of one of the ledges.  Of course, this ruined the paint on the top so I had to redo that.

I can't believe I wrote that up in one paragraph.  The table took me months to complete because every time I worked on it with a chisel and sandpaper I would get so ticked off I had to walk away.  I was stubborn and didn't want help from hubby.  Finally he dropped his Dremel tool kit on the table in front of me.  Within minutes I had a gouge taken out of the ledge and all of the pieces fit!  Yeah!  Here is where I had to repaint....

I glued the tiles down using E6000.  Once set, I went over the tiles with several coats of polycrylic sealant to preserve the paint on the "black" squares.  Finally it was finished.  And my son loves it.  That's the best part of all.


Happy Crafting!
Kathy

Thursday, May 2, 2013

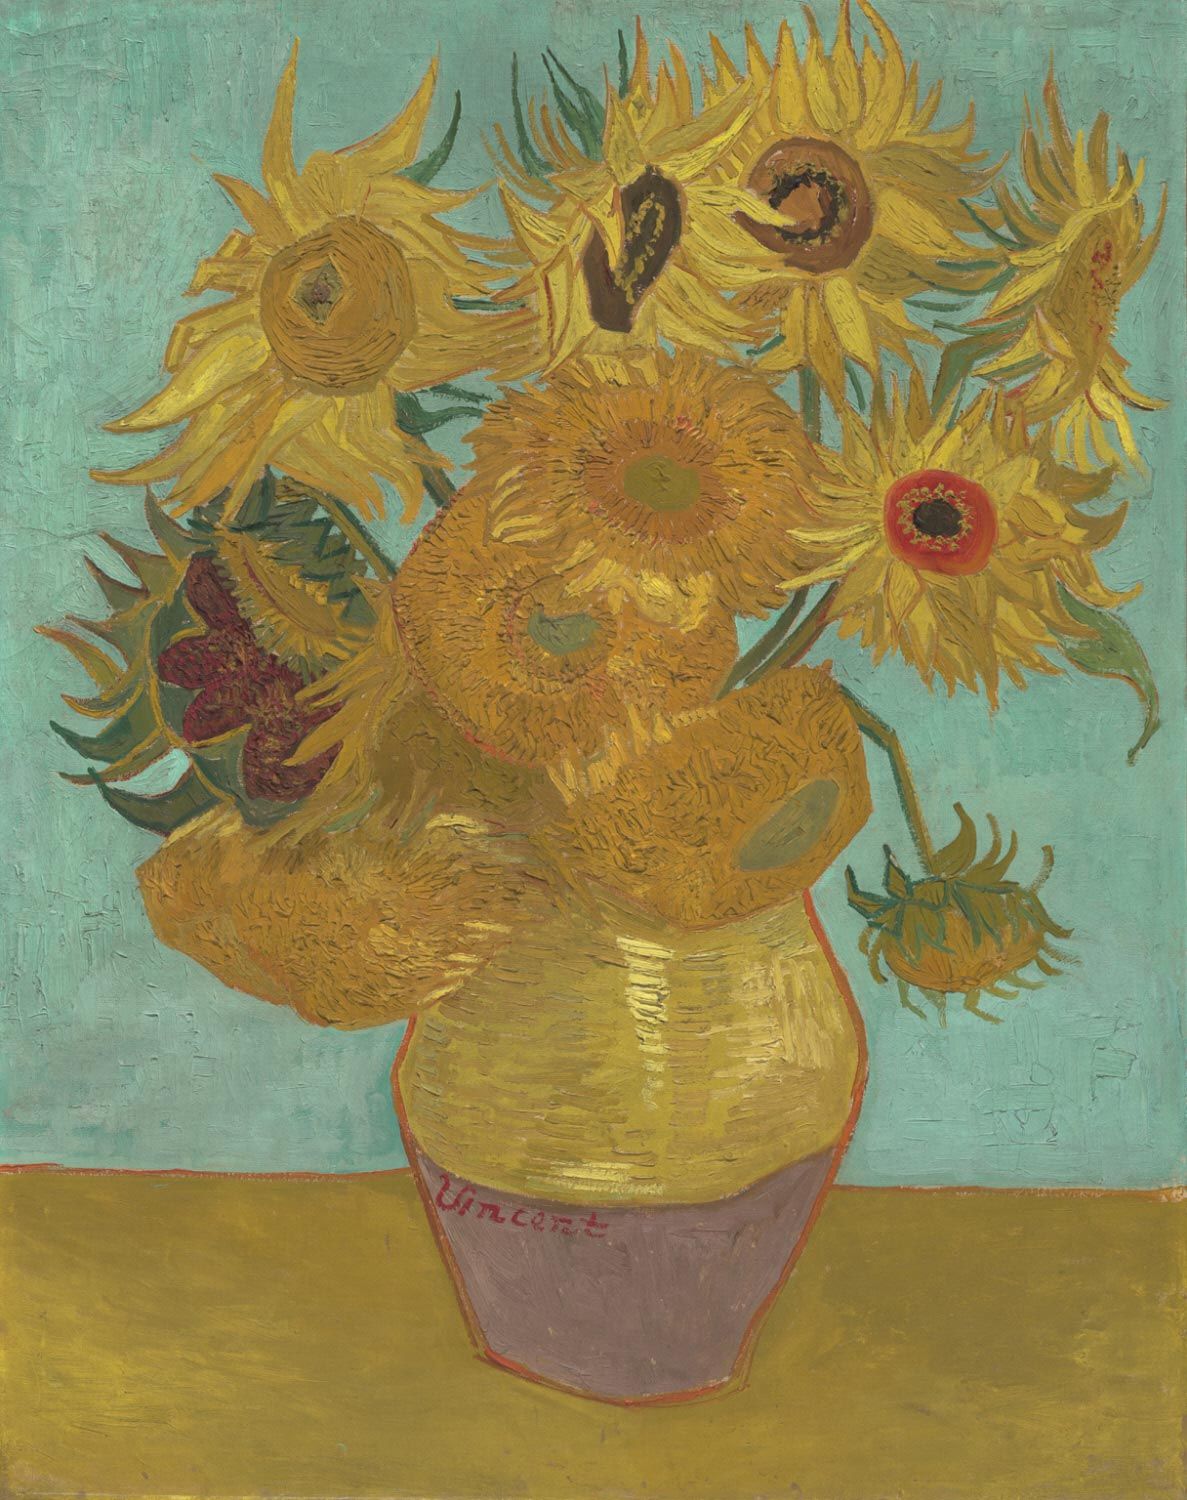
Van Gogh's Sunflowers


I have always loved the Sunflower paintings of Van Gogh.  Last year I found some pretty paper sunflowers in the dollar bin at Michael's and knew that I wanted to use them in my own version of a sunflower painting.  I need to preface all of this by saying that I have never put a brush to canvas before so it was very intimidating for me.  I had this great idea in my head and didn't think I could transfer it to canvas.  What to do?

I follow the blog of Alisa Burke and have found inspiration in the work that she does.  I always walk away from reading her blog feeling that the only rules I need to follow are my own!  It is my painting, doodle, sketch, what have you, and I can do what I want.  With this in mind I pulled out my canvas and my paints. 

First I brushed the top 3/4's of the canvas with a paint sample I had picked up at Lowe's.  These are great not only for testing a paint color for a room, but also for any little projects that you may want to do.  The paint I used was a light sage color.  After randomly brushing on a section, I wet my brush and went back over the area.  Then I took a paper towel and wiped off a lot of the color, giving it a slightly mottled look.  I completed the "wall" and did the same at the bottom of the canvas to create the table, only this time using brown acrylic craft paint.  I used a wide brush so it gave the "table" a grain.  Nothing I planned.  My sister was visiting and pointed it out to me as I was painting.  Next I painted the vase.  Since I'm not a painter I'm not going to try to describe what I did, but I did use a crumpled up bit of plastic wrap to add texture and design to the vase in a lighter blue.  Another technique I learned from Alisa Burke's blog. 

Next came the flower stems and centers.  Chunky lines with circles at the top.  I mixed a bit of brown with green acrylic paint to achieve the more natural color I was looking for.  Finally came the flower petals.  I started with yellow paint and just made big sweeps of color in arches around the center of the flower.  I then went back over the petals with brown to give it a bit of depth.  I kept dipping my brush in a cup of water as I applied the paint as I wanted the colors a bit muted. 

As a last step I glued the large paper sunflowers over the painting to give it dimension.  Here's the final result:


I'm very pleased with it, if I must say so myself....

The point is to try something you have never tried before.  It may work or it may not.  I'll never be a painter, but this challenged me to get out of my comfort zone (crocheting, knitting, sewing jewelry, etc.) and tackle a new media.

Happy Crafting...and Painting!!

Kathy